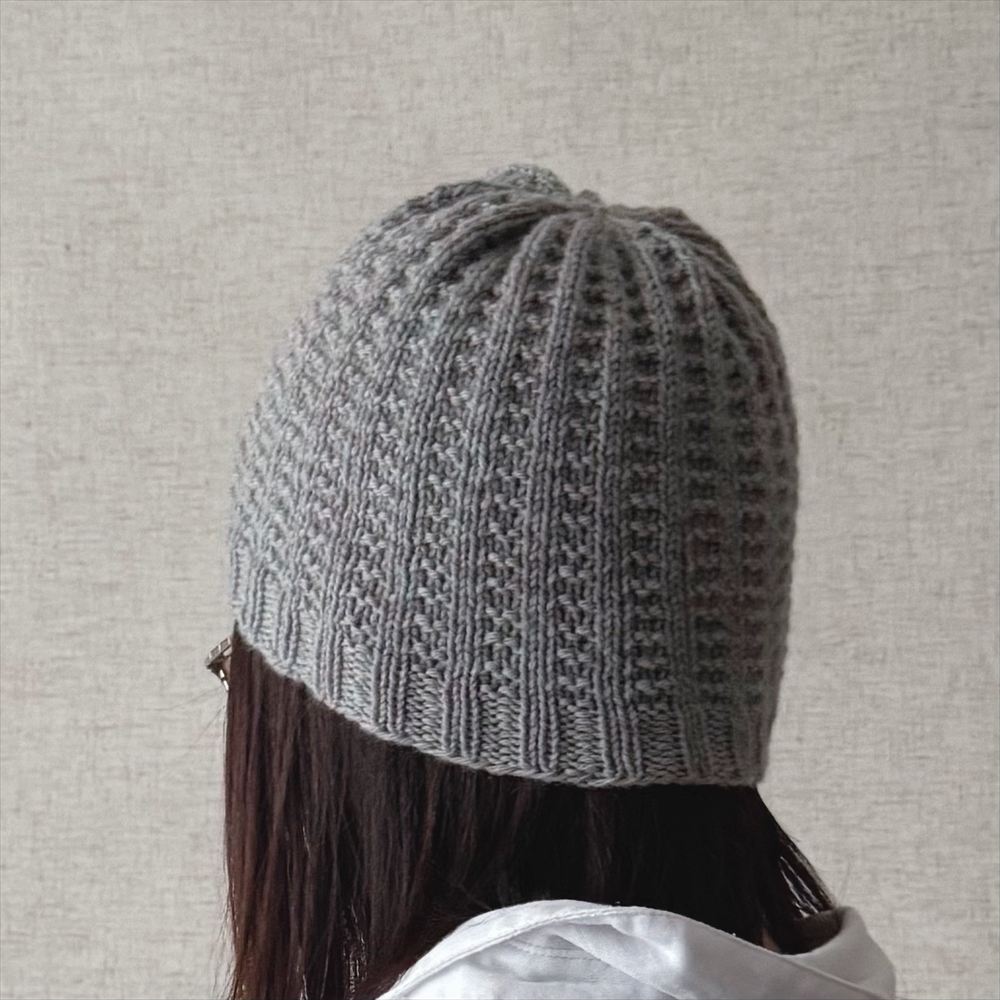
🎁 Weekly Holiday Gift Drop — Week 1: The Ladder Rib Beanie
Welcome to the very first release of my Weekly Holiday Gift Drop! Every week leading up to the holidays, I’ll be sharing a cozy, gift-worthy accessory pattern designed to make your seasonal handmade gifting joyful and stress-free.
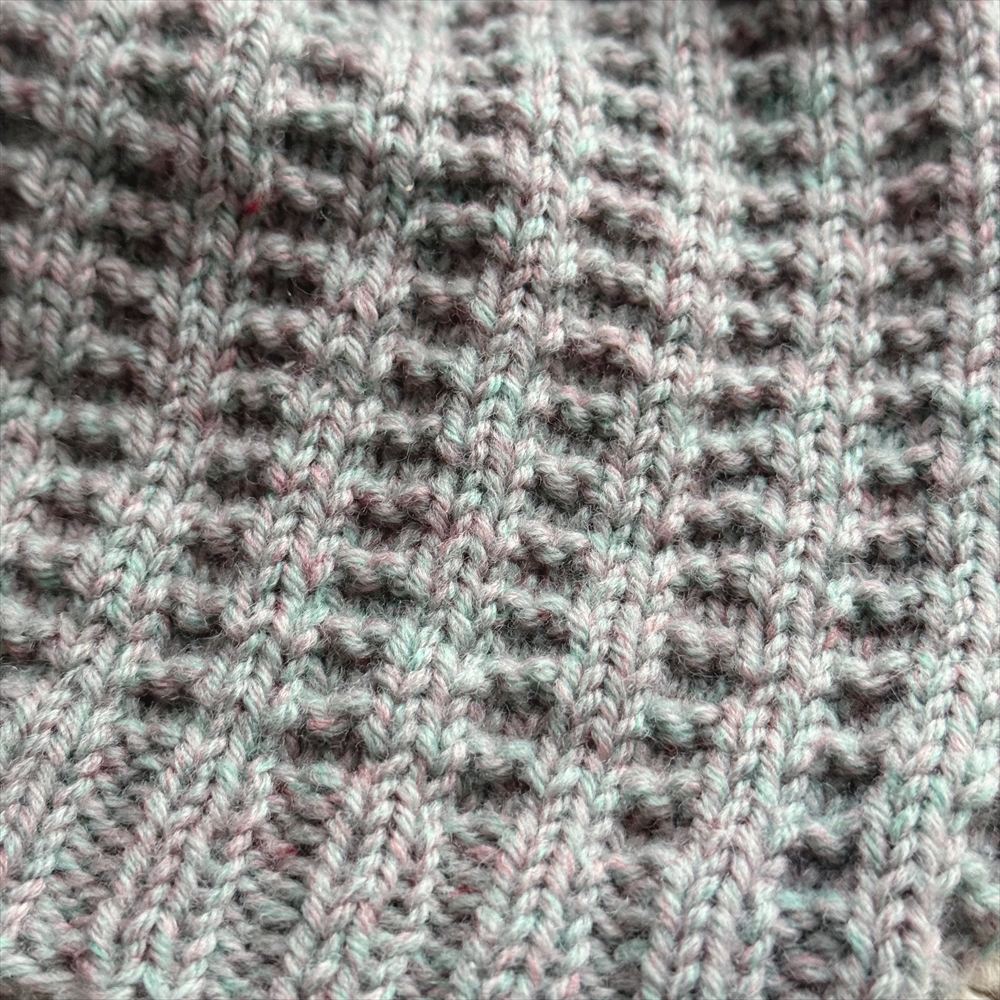
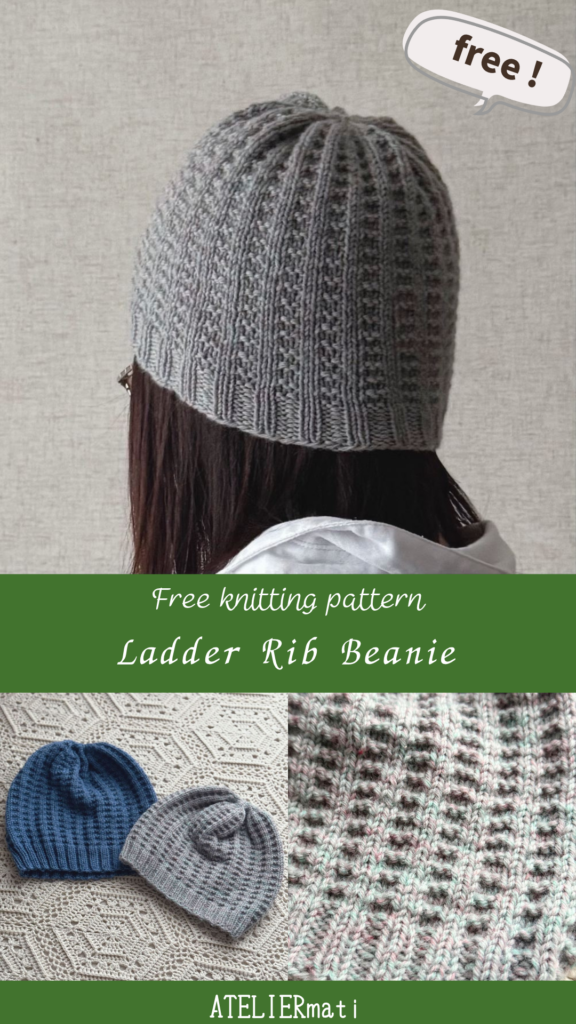
Kicking off the series is the Ladder Rib Beanie—a cozy, textured hat worked entirely with simple knit and purl stitches. Vertical columns of knit stitches frame neat, ladder-like rows of purl bumps, creating a stretchy, rhythmic fabric that fits comfortably and flatters everyone.
Because the stitch pattern is easy to memorize, it’s an ideal project for relaxing evening knitting or making thoughtful, unisex holiday gifts. The standard size (shown in the grey sample) is available completely free right here on the blog, complete with written instructions and a watermarked chart!
Why You’ll Love This Pattern
- Simple Knit & Purl Magic: Uses only basic knit and purl stitches to create rich, architectural texture—making it relaxing and accessible even for confident beginners.
- Stretchy, Comfortable Fit: The ribbed ladder structure provides natural elasticity that hugs the head snugly without feeling tight, easily adapting to different head shapes.
- Easy-to-Memorize Rhythm: Once you establish the simple repeat, you can put down the pattern and enjoy mindful, television-friendly knitting.
- Timeless Unisex Appeal: Clean geometric lines look great in solid, tonal, or subtly speckled yarns, making it a foolproof handmade gift for friends, family, and partners.
- Chart & Written Support: Follow along with clear, round-by-round English written instructions alongside a traditional Japanese-style knitting chart (編み図) and symbol key.
📥 Free Blog Pattern vs. 2-Size Printable PDF
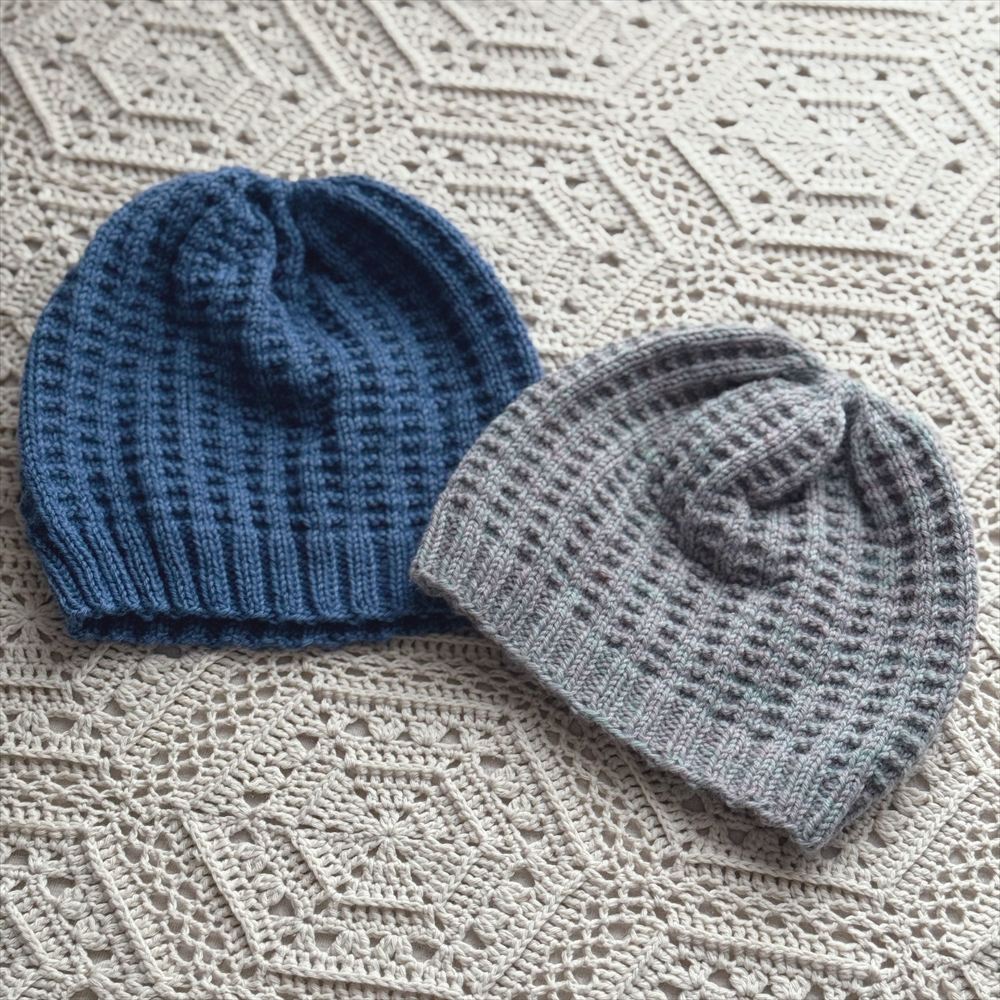
You can knit the standard One-Size version (shown in grey) completely free using the written instructions and watermarked chart below!
If you would like an additional size option (such as the larger blue sample pictured above) or prefer a clean, ad-free file for easy printing, the 2-Size PDF Edition is available on Ravelry:
- Free on the Blog: Standard One-Size instructions (English written pattern + watermarked chart).
- Printable PDF on Ravelry: Includes 2 graded sizes + high-resolution, unwatermarked charts for effortless printing and offline knitting.
👉 [Get the 2-Size Ad-Free PDF on Ravelry & Add to Favorites]
Pattern Details & Materials
Pattern Specifications
- Yarn: Hamanaka Amerry (100% bourette silk; approx. 110m / 40g, 120yads / 1.41oz)
- Yardag: Approx. 116 m / 126 yds (42g)
- Needle:
- Smaller: 4.0 mm / US 6 (40 cm / 16″ circular needles)
- Larger: 4.5 mm / US 7 (40 cm / 16″ circular needles, plus DPNs or longer cable for magic loop for crown shaping)
- Finished Size: 42 cm / 16.5″ circumference (unstretched), to fit 53–55 cm / 20.75–21.75″ head; 19 cm / 7.5″ height (laid flat)
- Gauge: Body pattern: 22 sts and 34 rows = 10 cm / 4″ in pattern, after blocking.
Abbreviations & Symbols (US Terms)
k: knit
p: purl
k2tog: knit 2 stitches together
pm: place marker
sm: slip marker
co: cast on bo: bind off
Pattern Notes:
Construction: This hat is worked in the round from the bottom up, starting with a 40 cm / 16″ circular needle and switching to the magic loop method (or DPNs) when decreasing for the crown. Because it is worked in the round, every round is worked on the right side (RS).
Charts: When reading the Japanese symbol chart, read every round from right to left.
Finishing: To close the crown, thread the yarn tail through all remaining stitches 2–3 times, pull tightly to close the hole, and weave in the ends securely on the wrong side.
Pattern Instructions
BRIM
Cast On (Chart Row 1): With smaller needle (4.0 mm / US 6), using the long-tail cast-on method, CO 104 sts. Join to work in the round, being careful not to twist stitches. pm for beginning of round.
Rnd 2: *k2, p2; rep from * to end of rnd, sm. (104 sts)
Rnds 3–10: Repeat Rnd 2. (104 sts)
BODY
Change to larger needle (4.5 mm / US 7).
Rnd 1: Knit to end of rnd, sm. (104 sts)
Rnd 2: Knit to end of rnd, sm.
Rnd 3: *k2, p2; rep from * to end of rnd, sm.
Rnds 4–51: Repeat Rnds 1–3 sixteen more times.Rnd 52: Knit to end of rnd, sm.
CROWN SHAPING
Note: Change to DPNs or longer circular needle for Magic Loop when stitches no longer fit comfortably on the 40 cm (16″) needle.
Rnd 53: *k2, k2tog; rep from * to end of rnd, sm. (78 sts)
Rnd 54: *k2, p1; rep from * to end of rnd, sm. (78 sts)
Rnd 55: *k2tog, k1; rep from * to end of rnd, sm. (52 sts)
Rnd 56: Knit to end of rnd, sm. (52 sts)
Rnd 57: *k2tog; rep from * to end of rnd, sm. (26 sts)
Rnd 58: Knit to end of rnd, sm. (26 sts)
Rnd 59: *k2tog; rep from * to end of rnd, sm. (13 sts)Rnd 60: Knit to end of rnd. (13 sts)
FINISHING
Cut yarn, leaving a tail of about 20 cm (8″). Thread the tail through a tapestry needle and insert through the remaining 13 stitches 2–3 times, removing knitting needles as you go. Pull tightly to close the top of the hat and secure firmly on the wrong side. Weave in all ends and block as desired.
Japanese Knitting Chart

📥 Want to Print This Pattern or Knit the Second Size?
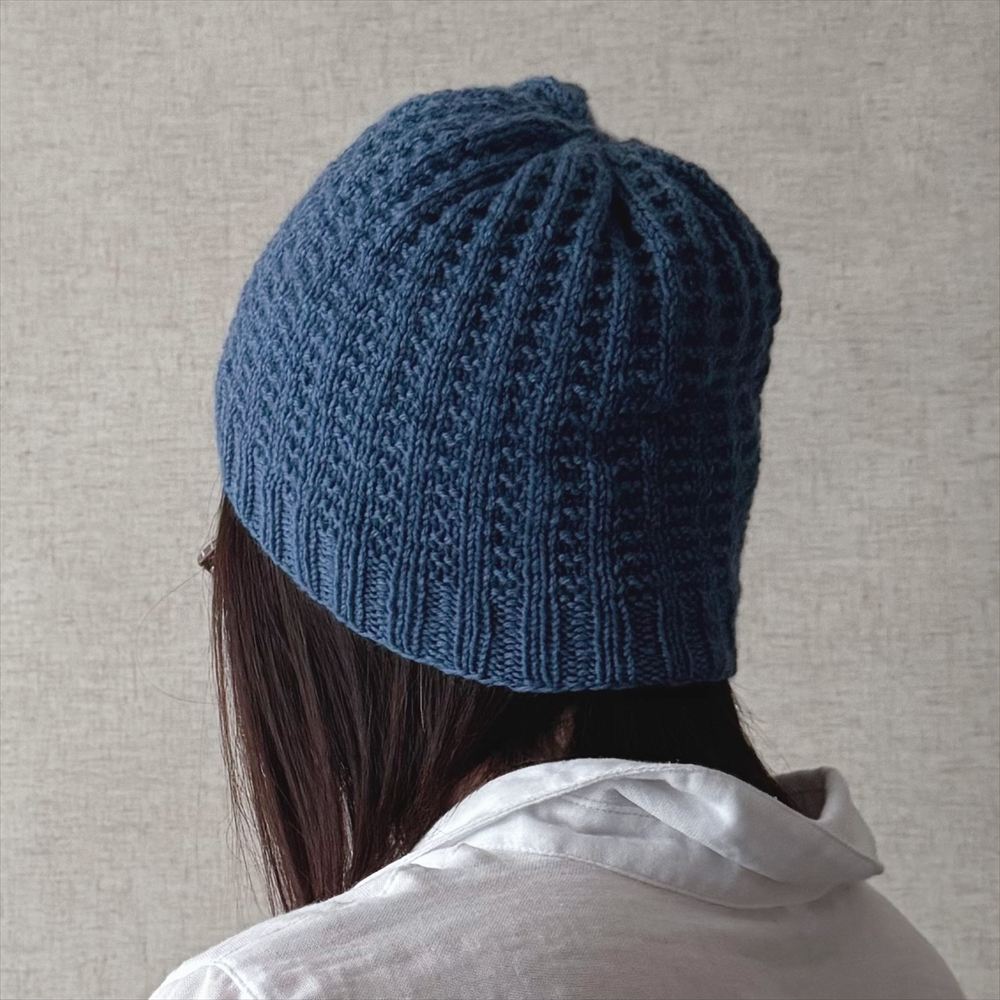
Enjoyed the pattern? If you’d like to print a clean, ad-free copy for offline knitting—or make the second graded size (shown in the blue sample) for family and holiday gifts—grab the complete 2-Size PDF Edition on Ravelry!
👉 [Download the 2-Size Ad-Free PDF on Ravelry]
(Don’t forget to add the pattern to your Ravelry favorites or queue so you can find it easily later!)
Pin this pattern for later!

Hi, I'm mati!
Crochet and knitwear designer based in Japan. I create relaxing, delicate patterns inspired by daily botanical aesthetics and traditional Japanese stitch techniques.